

How To Draw Curls In Hair
Easy Step-Past-Stride Instructions for Drawing Curly Hair
Anybody has a defining physical feature. Possibly it'south striking optics, total lips, or even ringlets of curls. This blazon of textured hairstyle might seem tricky to draw, just information technology doesn't take to exist.
Learn step-by-step instructions for drawing curly pilus!
For this tutorial, I'm using basic art supplies: my favorite drawing paper, pencils and eraser. I don't accept a reference photograph then I can feel free to manner any sort of curls I like.
Step one: Start with the head and neck.
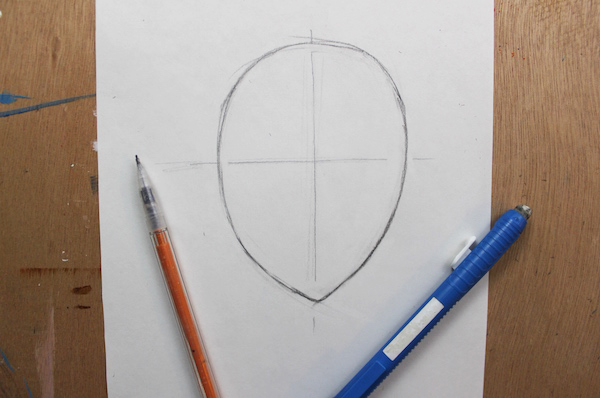
Because the focus of this drawing is the hair, I'm just starting out by drawing an oval for my head and so attaching a cervix to it. I put some guidelines where the nose and optics would exist, too.
Pace 2: Draw in the shape of the hair.
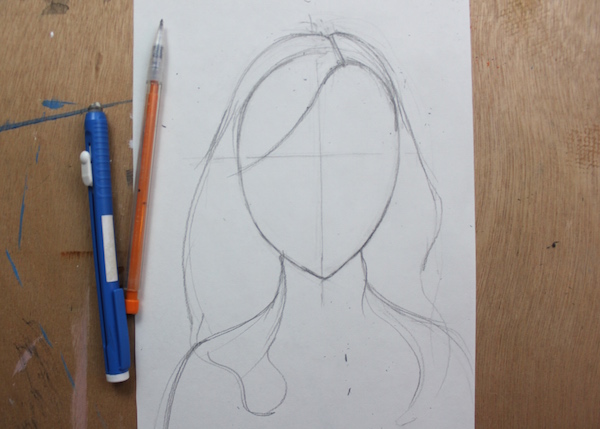
Now, describe in a general shape of where the hair volition lay. This is an important step in the process. Here, you make up one's mind the length and manner of the hair based on its silhouette. You tin see I went for a longer hairstyle that dips below the shoulders but feel free to make the hair any length you like.
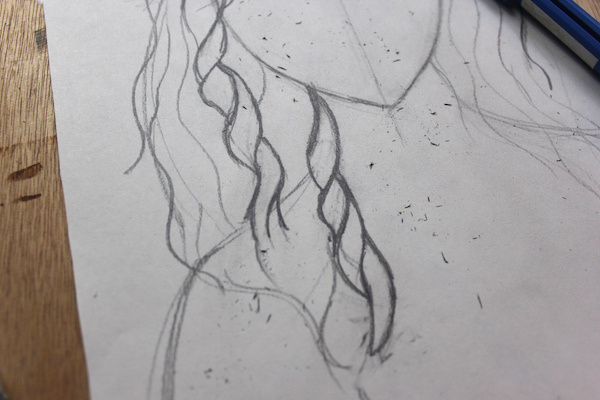
Pace three: Prepare guidelines for the curls.
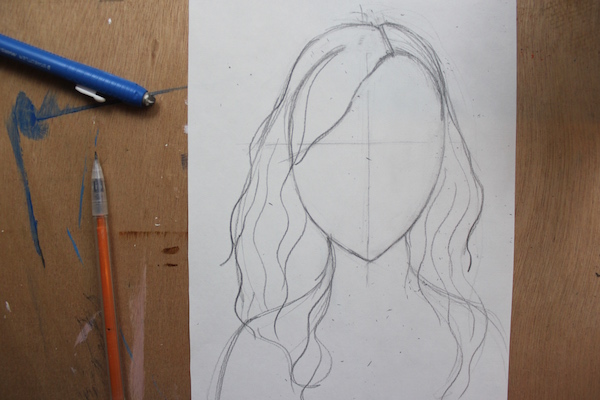
This is equally simple as drawing wavy lines to indicate where your curls volition become. Since I'm cartoon a longer hairstyle, my curls will be long and relaxed. If you're going shorter, all the same, you'll want to your lines shorter and more zigzag-like.
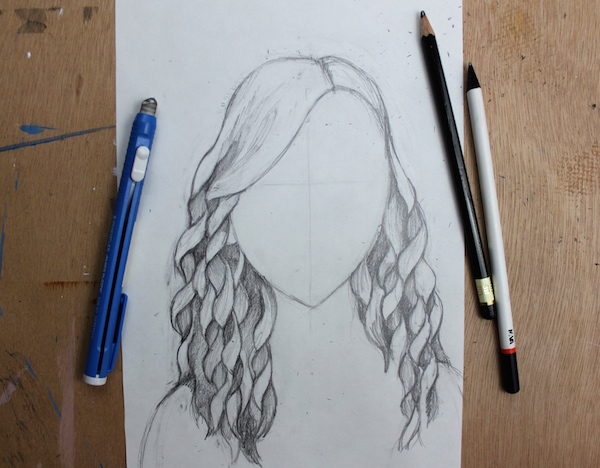
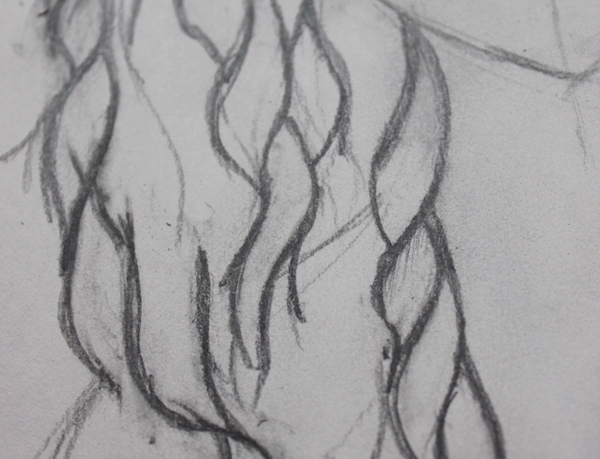
Step 4: Start defining the curls.
Hither'due south where the fun begins and you start to bring the curls to life. While all pilus is different, at that place are some general guidelines when defining curls:
- Think of curls like ribbons. They start at the part and hang from there. Imagine that you're wrapping a packet and curling ribbon. Retrieve about that structure as y'all're cartoon the hair. The strands are going to twist over onto themselves, and so you'll accept parts that are the "front" of the curl and the "back." The forepart will overlap with the back, which will appear smaller and less curved.
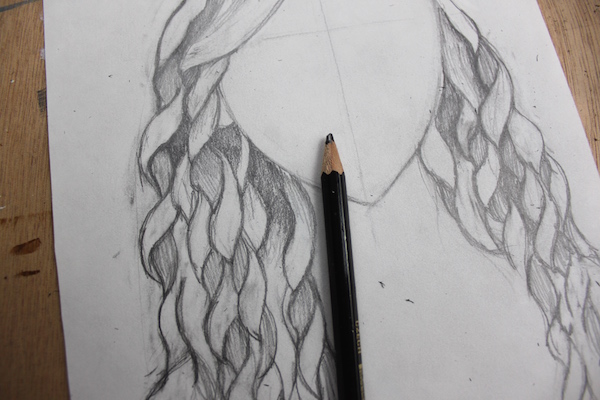
- Not every curl can be super curly. Hair is layered, and the pieces that are toward the sides and the back of the caput generally aren't as curly. Instead, they'll probably be more of soft waves. So, to make your drawn head of pilus announced natural, focus on several ringlets and imply a wavy texture behind them.
- Vary scroll length. If you, or you know someone that has curly hair, they'll tell you that layers are an important part of their hairstyle — especially if the texture is ringlets. This keeps the hair from existence ane large poof. With this in mind, vary the length of your curls. One well-nigh the top of the head volition be shorter than what's at the bottom.
- Longer curly hairstyles will exist more curly at the tips. The top of the caput will accept straighter hair because the length of the curls will weight them down.
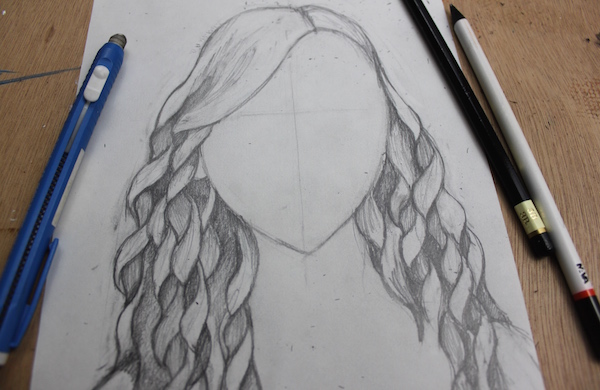
five. Shade the hair to give it definition.
One time you've spent time perfecting the curls, information technology's time to shade them. This will give the hair form and depth. Since this is a sketch, yous don't take to do any intensive shading. But, exercise darken around the ringlets and the underside of the curls. You'll be surprised just how much life it gives them!
Have you ever tried drawing curly hair before?

Source: https://www.craftsy.com/post/drawing-curly-hair/
Posted by: puafrod1948.blogspot.com
0 Response to "How To Draw Curls In Hair"
Post a Comment